Add a new client
A client in Pipelinq is either a person or an organisation. Each carries contact details, notes, and a complete history of every lead, request, and contact moment linked to them.
Goal
Create a new client record (person or organisation) and verify it lands in the right list with duplicate detection running.
Prerequisites
- You can edit clients (default for users; admins manage permission groups).
Steps
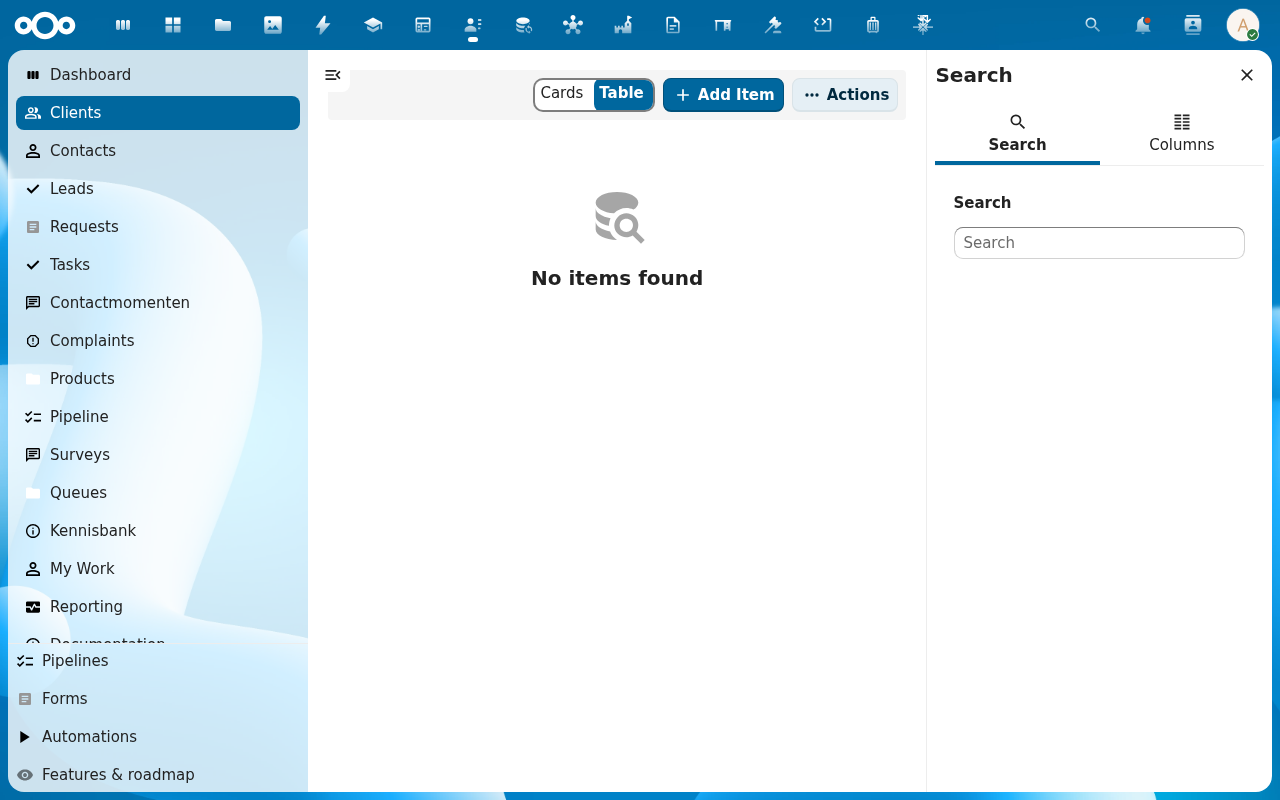
1. Click + Add Item from the Clients view
The create button is labelled Add Item, the standard @conduction/nextcloud-vue list action used across every Pipelinq list view (Clients, Contacts, Leads, Requests, …).

2. Pick Person or Organisation
The form fields differ: persons get first/last name, organisations get a single name field plus org-specific fields like KvK / VAT number.
3. Fill the contact details
The minimum required fields are Name (or First name + Last name for a person) and Type. Optional fields include Email, Phone, Address (street, postcode, city, country), and free-form Notes. Organisations carry extra optional fields: KvK number, VAT number, Website, Industry.
4. Watch for duplicate-detection warnings
If Pipelinq finds a likely match (similar name, matching email), a warning appears. See Resolve a duplicate-detection warning.
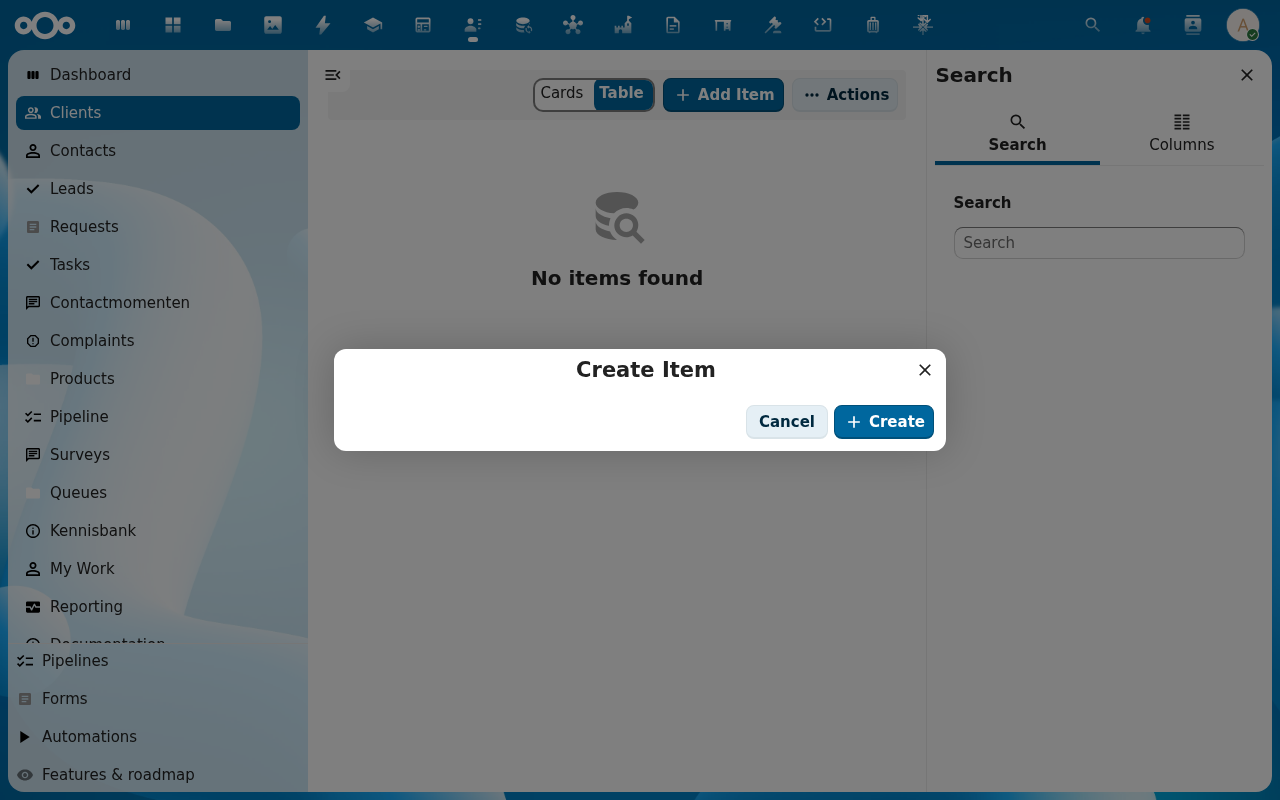
5. Click Save
The client appears at the top of the list, and you land on its detail page.

Verification
- The new client is in the Clients list.
- Its detail page shows your input.
- The history tab shows the creation event.
Common issues
| Symptom | Fix |
|---|---|
| Save button is disabled | A required field is empty. The form highlights which one. |
| Duplicate warning appears even though this is a real new client | Confirm via Resolve a duplicate-detection warning. The override path keeps both records. |