Configure CRM workflows and automation
Pipelinq's request types (info, quote, support, complaint, …) each carry a small workflow (a set of handling states and the transitions between them) plus optional automation rules that assign, escalate, or notify on the right event. This is where you set those up.
Goal
Add or edit a request-type workflow and wire at least one automation rule (e.g. auto-assign on creation).
Prerequisites
- You're a Nextcloud admin AND have Pipelinq's admin permission.
Steps
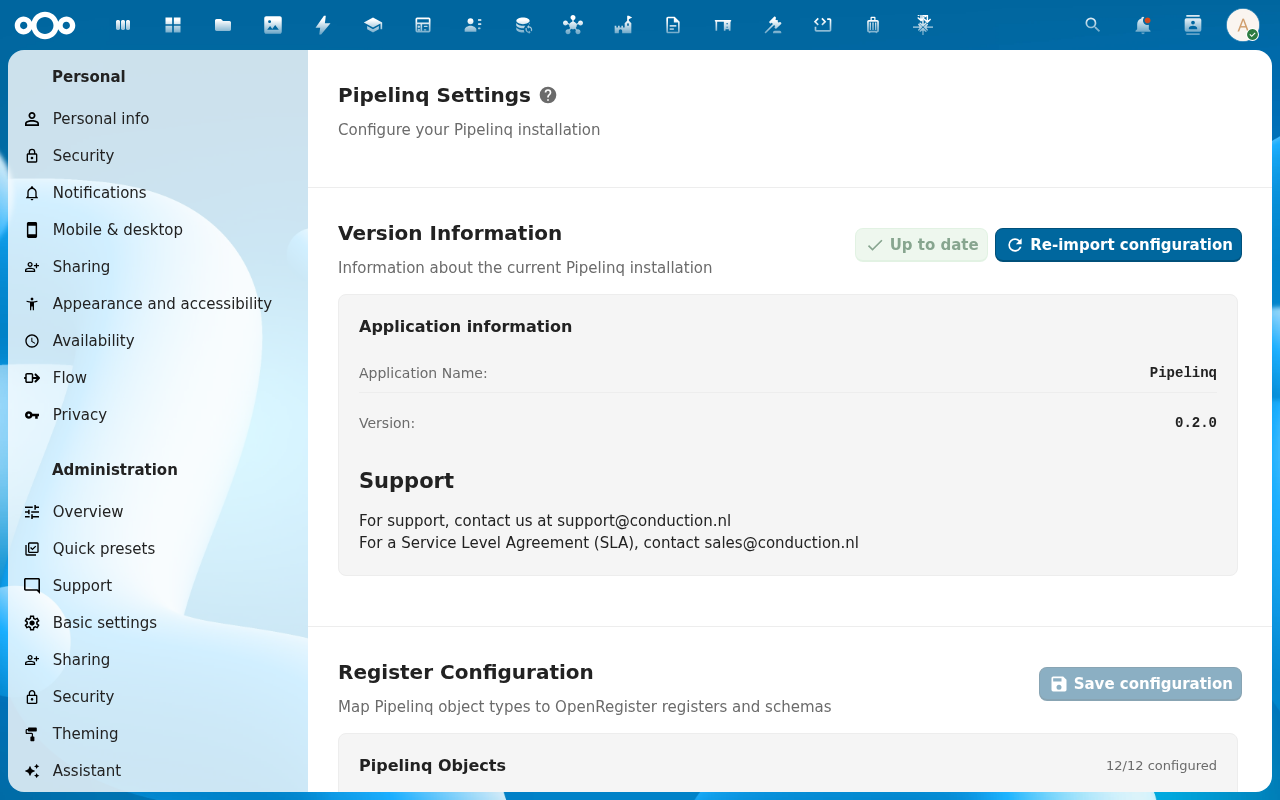
1. Open Pipelinq admin settings
Settings menu → Administration settings → Pipelinq.
2. Open the Queues + Skills sections (workflow), plus the in-app Automations route (rules)
Request workflows are spread across two surfaces. The Queues section on the admin page defines the queues a request can sit in (entry queue, escalation queue, closed queue); the Skills section maps the skills required to handle each queue. Automation rules live in the in-app Automations view (Pipelinq nav → Automations). Admins build them there, not on the settings page.
3. Define handling states per request type
Each request type carries an ordered list of states. The state list is stored as the lifecycle on the request schema (see Configure request types → Lifecycle section). The first state is the entry state: every newly-created request lands there. States marked Closed terminate the workflow; states marked Escalated auto-route to the configured escalation queue. To add a state, expand the request type's Lifecycle row and click + Add state; drag the state by its handle to reorder.
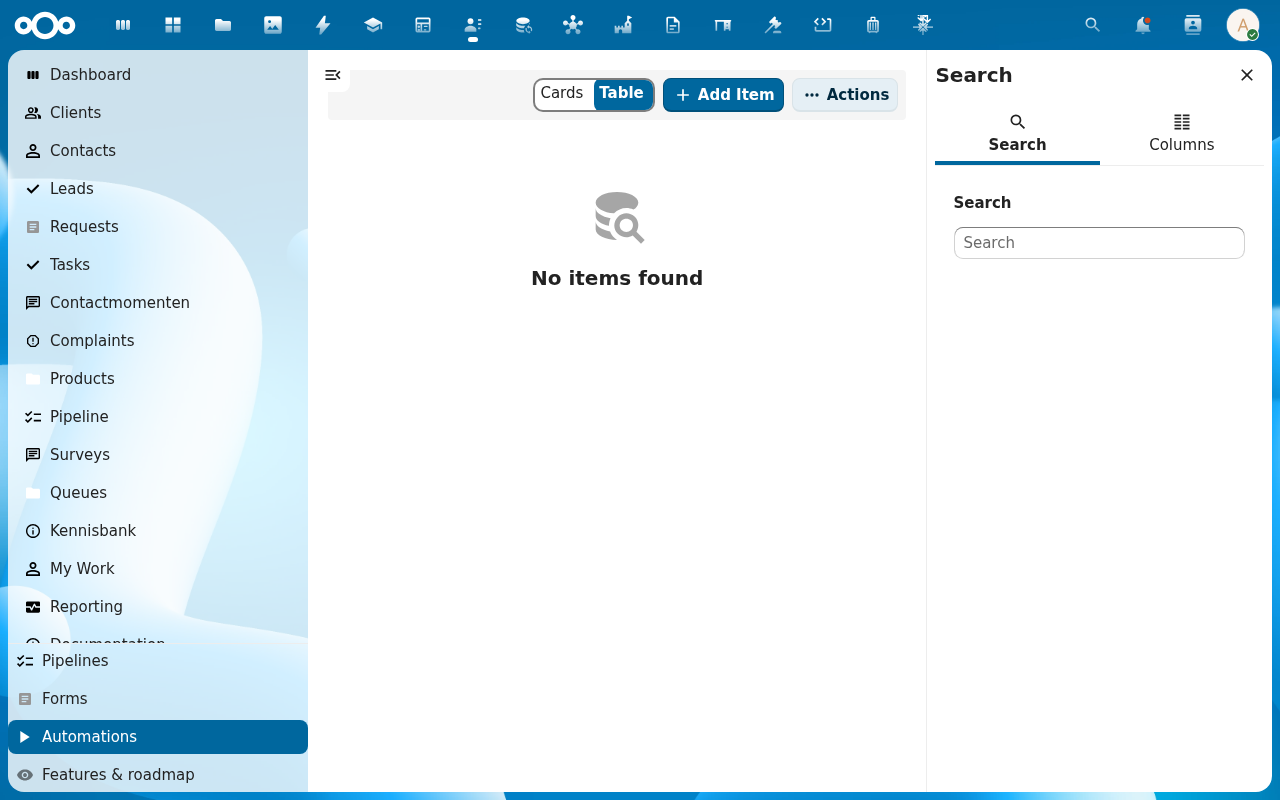
4. Add automation rules
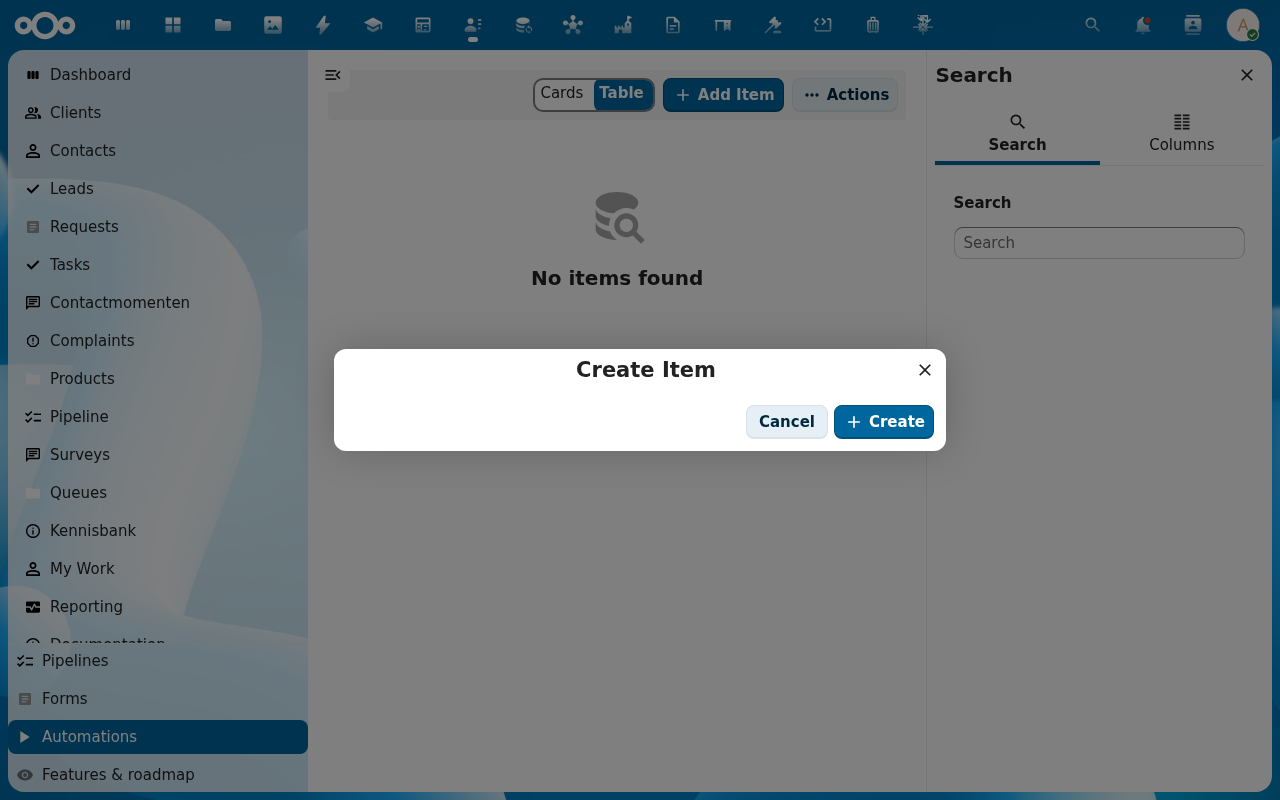
Open the in-app Automations view (left navigation under configuration). Click + Add Item to create a rule. The rule builder has three sections: Trigger, Condition, Action.
- Trigger: On create (request just registered), On state change (a transition fires), On timer (SLA clock crosses a threshold).
- Condition (optional): field-match groups joined with AND / OR, e.g. type = complaint AND severity = critical. Leave empty for "always".
- Action: Assign to user / queue, Notify (in-app, email, or n8n webhook), Escalate to queue, Transition to state, Create task. Stack multiple actions on one rule: they run in order.
5. Save
New requests of that type immediately follow the configured workflow; existing requests keep their current state.
Verification
- Create a test request of the type; it lands at the configured entry state.
- The automation rule fires (e.g. the request is auto-assigned).
- The state list shows in the request's status picker for handlers.
Common issues
| Symptom | Fix |
|---|---|
| Rule never fires | Check the trigger matches the event you expect (create vs. state change) and the condition isn't too narrow. |
| Handlers can't move a request forward | The target state has no transition from the current state. Add it to the workflow. |