Open Pipelinq for the first time
The first time you open Pipelinq, you land on the My Work view, your personal queue of leads, requests, and follow-ups.
Goal
Recognise the parts of the Pipelinq workspace and know where to find the actions you'll use in every other tutorial.
Prerequisites
- Pipelinq is installed and enabled by your administrator.
- You have at least read access to the org's clients and pipelines.
Steps
1. Click the Pipelinq icon in the Nextcloud app launcher
Or visit /apps/pipelinq/ directly. The workspace renders with the My Work queue front and centre.
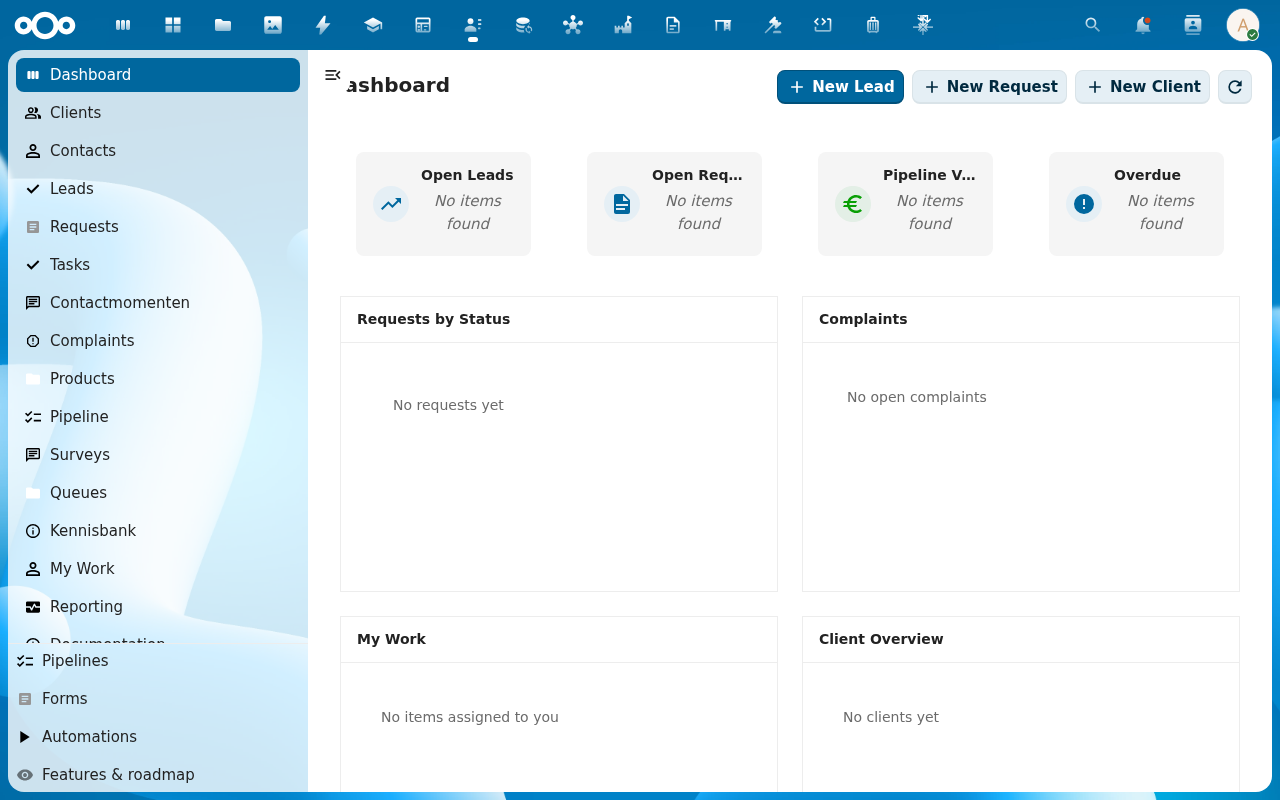
2. Scan the navigation
The left navigation falls into two groups. The top group is your day-to-day work: Dashboard, Clients, Contacts, Leads, Requests, Tasks, Contactmomenten, Complaints, Products, Pipeline, Surveys, Queues, Kennisbank, My Work, Reporting. Below the divider sits the configuration group: Pipelines, Forms, Automations, and Features & roadmap.

3. Open the global search
The unified-search icon in the Nextcloud top bar (magnifying glass) searches across clients, leads, requests, and contact moments. Pipelinq registers each as a search provider so a single query surfaces matches from every record type.

Verification
- The My Work queue is visible and shows your assigned items.
- The primary navigation lists clients, pipeline, requests, contact moments.
Common issues
| Symptom | Fix |
|---|---|
| Pipelinq isn't in the app launcher | Ask an admin to enable the app at Settings → Apps. |
| The dashboard widgets all read No items found | Expected on a fresh install. They fill in as you add clients, leads, and requests. |
| Lists load but the Add Item dialog has no form fields | The Pipelinq register has not been imported. See Manage Pipelinq settings. |