Configure pipeline stages
Pipelinq supports multiple pipelines (e.g. Sales, Support, Onboarding), each with its own ordered list of stages. Each stage has a default close probability that drives the forecast aggregate.
Goal
Add, reorder, or rename stages on an existing pipeline; tune the default close probability per stage.
Prerequisites
- You're a Nextcloud admin AND have Pipelinq's admin permission.
Steps
1. Open Pipelinq admin settings
Settings menu → Administration settings → Pipelinq.
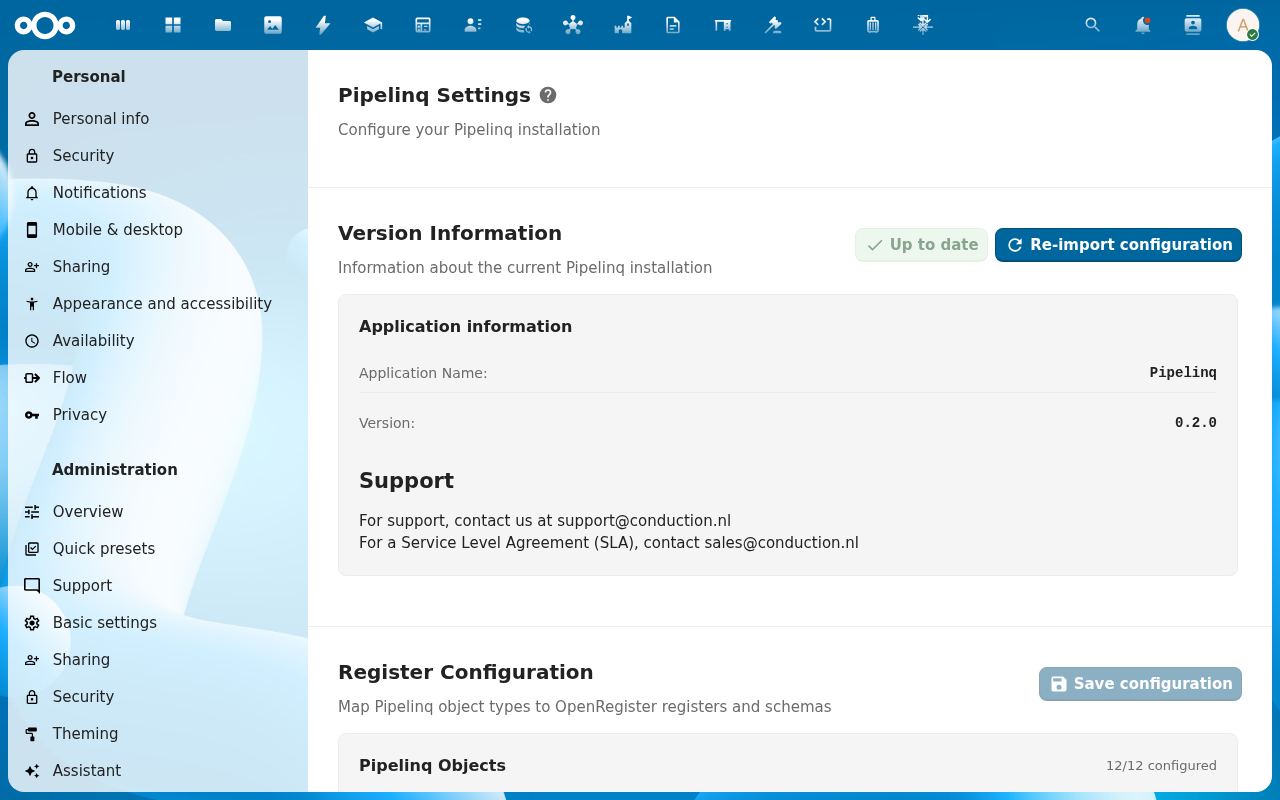
2. Pick a pipeline
Scroll to the Pipelines section on the admin page. Each pipeline is a card with its name, slug, and stage count. Click the pipeline card to open its editor, or click + Add pipeline to create a new one (name + slug + initial stage list).
3. Add or rename stages
The stages editor lists stages in column order with a drag handle on the left of each row. Drag a stage by its handle to reorder. + Add stage at the bottom of the list adds an empty row: name is required and must be unique within the pipeline; the slug is auto-derived but editable. To rename, click the name field inline and type the new value.
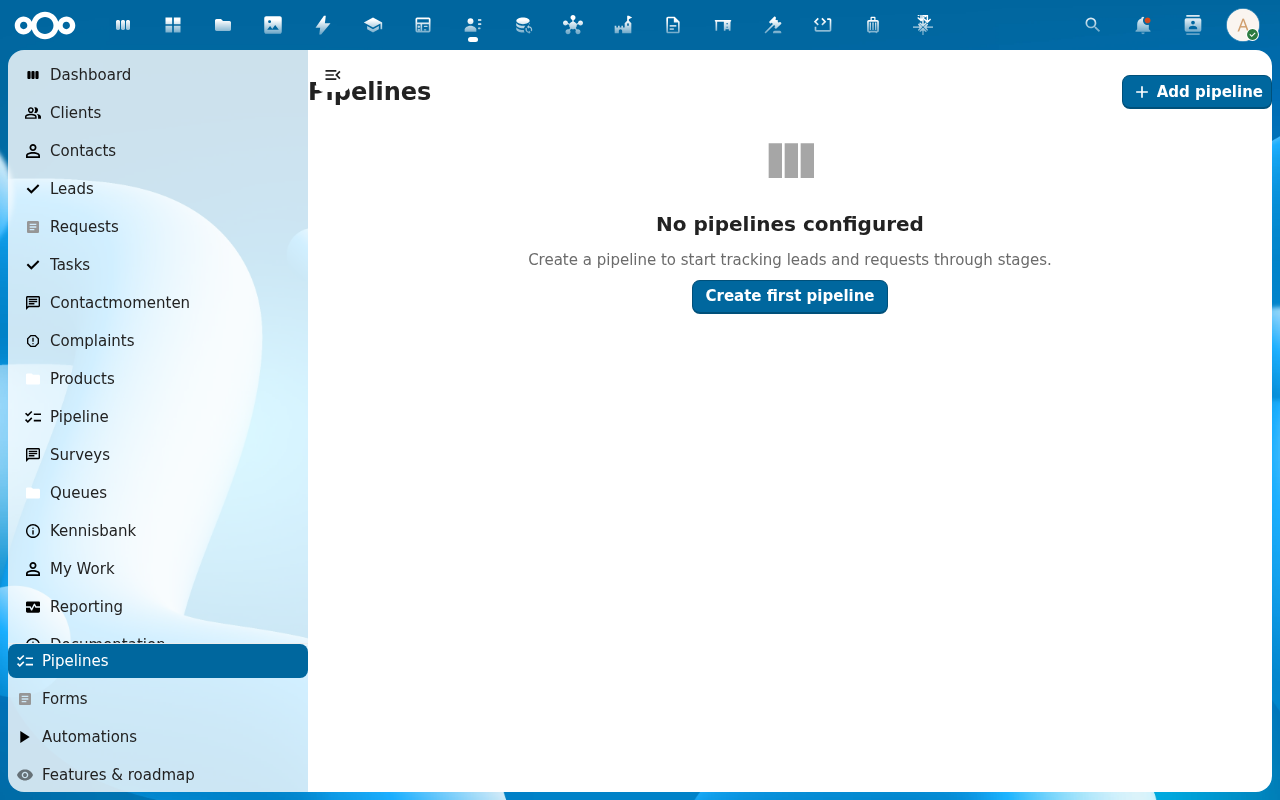
4. Set default close probabilities per stage
Numbers between 0 and 100. Pipelinq uses these as the lead's default probability on stage transitions; users can override per-lead inline.
5. Save
The pipeline view immediately reflects the new stage list.
Verification
- Open the pipeline view as a regular user. Your stages appear in the column order you set.
- The forecast at the top recalculates using the new probabilities.
Common issues
| Symptom | Fix |
|---|---|
| Reorder doesn't persist | Drag handle is on the stage card title, not the body. Try again from the title bar. |
| Default probability resets to 0 | The number was rejected (out of range or non-numeric) and silently dropped. |