Configure request types
Request types are the dropdown options users pick from when capturing an incoming request. They drive the My Work queue's filter chips and determine what kind of triage actions are available per category.
Goal
Add, edit, or retire request types for your org.
Prerequisites
- You're a Nextcloud admin with Pipelinq's admin permission.
Steps
1. Open Pipelinq admin settings
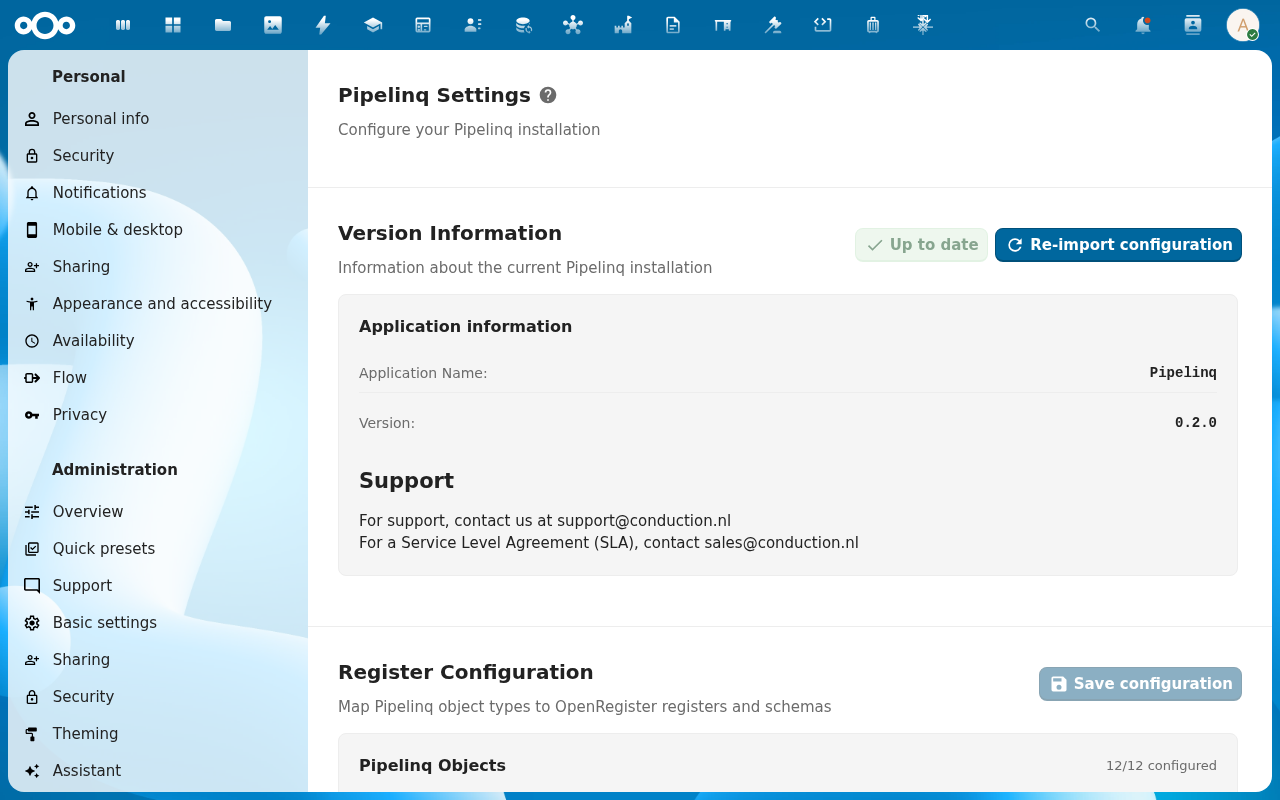
Settings menu → Administration settings → Pipelinq.
2. Go to Request types
3. Add a new type
Click + Add Item in the Request types section. The dialog asks for Label (visible name, e.g. Support call), Internal ID (the slug used in filters and rule conditions, auto-derived from the label, editable), Default queue (the Pipelinq queue new requests of this type land in), and Default assignee (a Nextcloud user or Auto-assign by queue rules).
4. Set the conversion behaviour
For each type, decide:
- Can this convert to a lead? (yes/no)
- What pipeline + stage does it default to?
5. Save
Click Save on the dialog. The new type is immediately available in the Type dropdown of the request-create form (Requests → + Add Item, or the dashboard's New Request button) and appears as a filter chip on the My Work queue and the Requests list.
Verification
- Open the request-create form as a regular user. Your new type appears in the picker.
- The My Work queue shows a filter chip per active request type.
Common issues
| Symptom | Fix |
|---|---|
| Type doesn't appear in the picker | Reload the page once. The picker reads from a cached list. |
| Existing requests with a retired type | Retired types stay valid on existing records; only new requests can't pick them. |